More Options
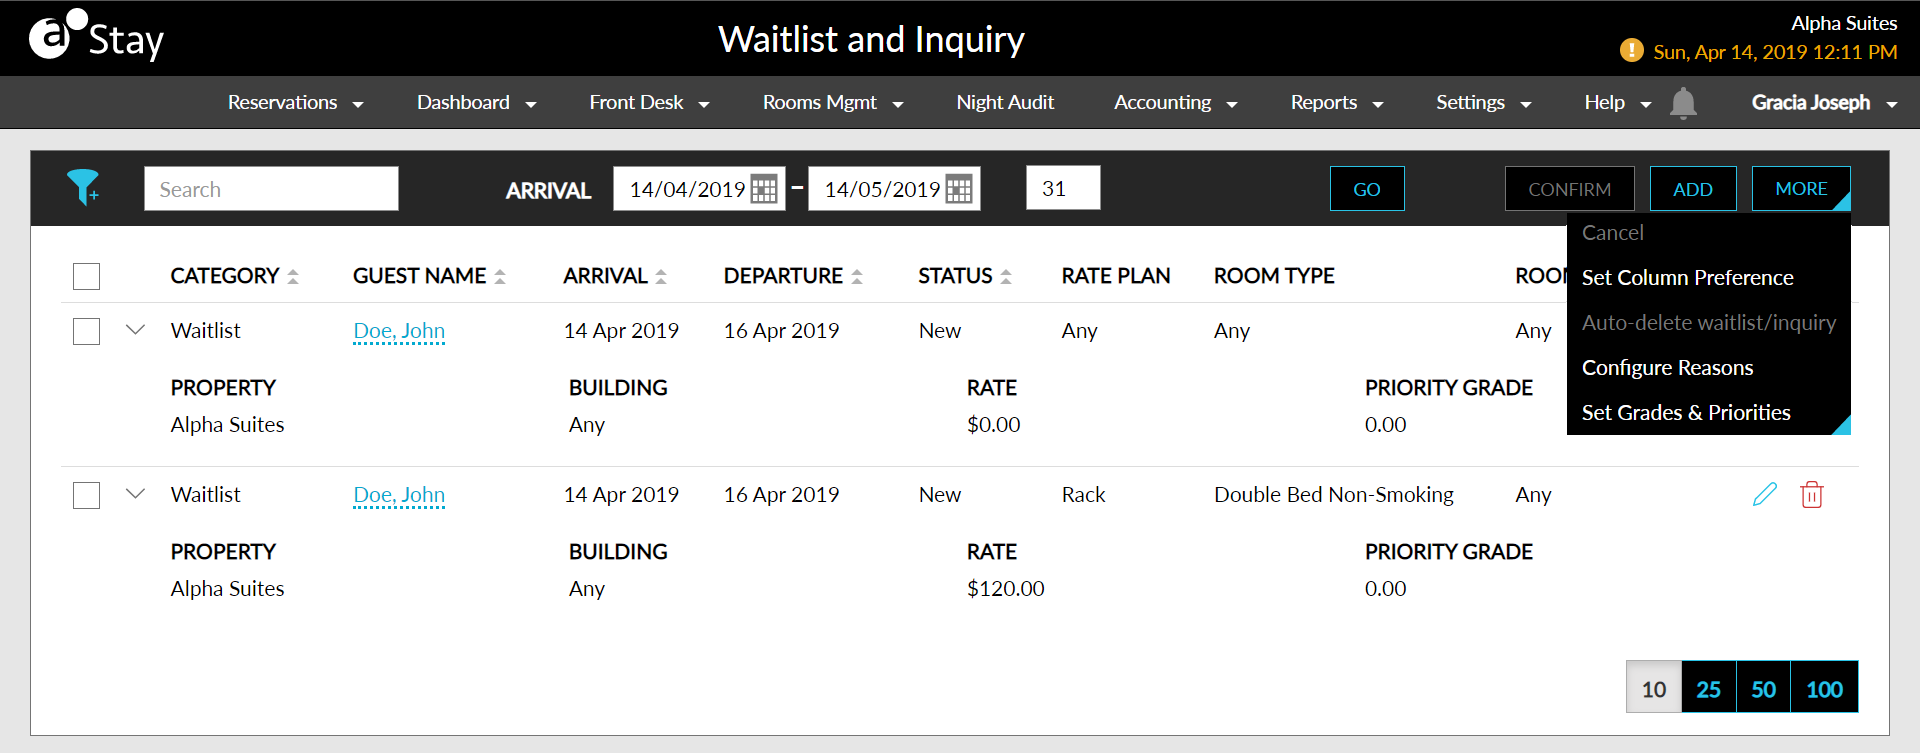
Select the More drop-down list on the right top corner to perform the following actions:
-
Cancel – to cancel one or many waitlist or inquiry records
-
Set Column Preference – to select or unselect columns to be displayed in the table
-
Auto-delete waitlist/inquiry – to configure auto-delete criteria for waitlist and inquiry records
-
Configure Reasons - add or delete reasons for the waitlist or inquiry
-
Set Grades and Priorities – to configure the priority grade display order for the waitlists and inquiries table
Cancel Waitlists and Inquiries
Select one or multiple waitlists and inquiry and click Cancel in the More drop-down list to open the Cancel Waitlist/Inquiry pop-up screen.
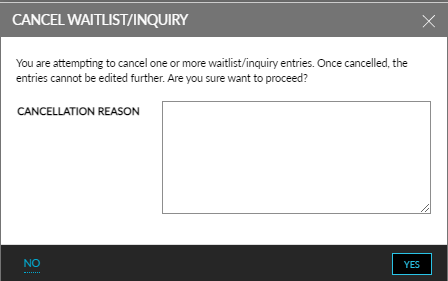
Enter the cancellation reason in the Cancel Waitlist/Inquiry pop-up screen.
Click Yes to cancel the waitlist and inquiry records.
Set Column Preference
Select Set Column Preference in the More drop-down list to choose fields displayed as columns in the table.
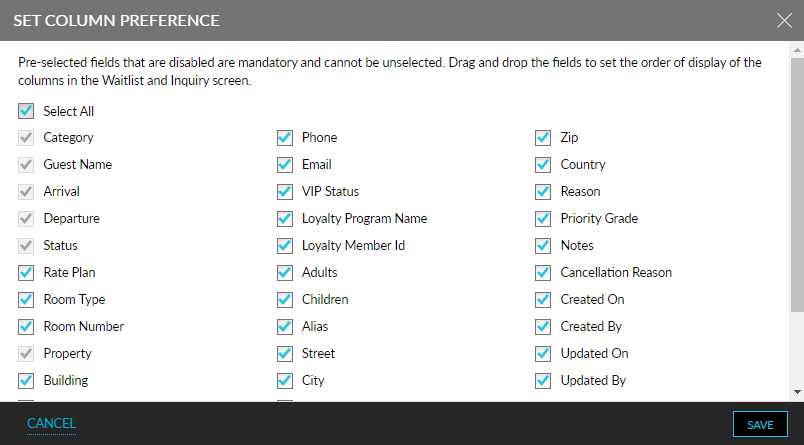
Click the Save button to confirm the column preferences.
Auto-Delete Waitlist or Inquiry
Select Auto-delete waitlist/inquiry in the More drop-down list to set the auto-delete criteria.
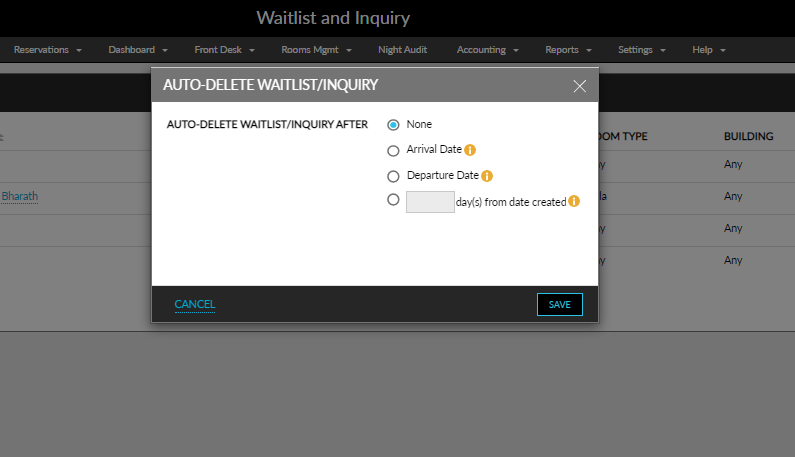
Select from one of the following options using the radio buttons.
|
Field |
Description |
|---|---|
|
None |
Select this option to disable auto-delete. This option is selected by default. |
|
Arrival Date |
Select this option to delete the waitlist and inquires after the arrival date. |
|
Departed Date |
Select this option to delete the waitlist and inquires after the departure date. |
|
Days from date created |
Select this option and enter a specific number of days. The waitlist or inquiry record will be automatically deleted after the set number of days from the creation date. |
Click the Save button to save the auto-delete criteria.
Configure Reasons
Select Configure Reasons in the More drop-down list to add, edit, or delete custom set reasons for waitlists or inquiries.
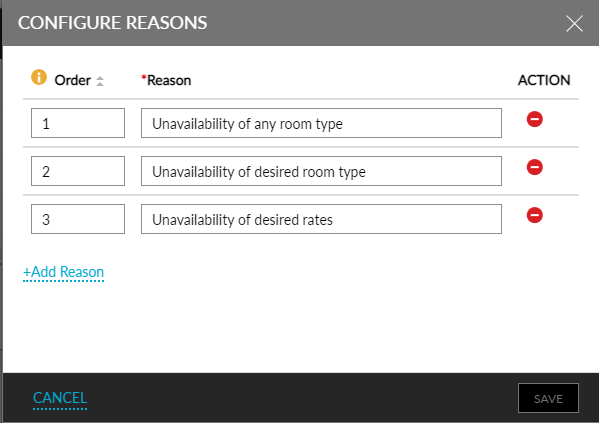
Click Add Reason in the Configure Reasons pop-up screen to add custom reasons.
Set the order of appearance using the Order column.
Edit reasons in the Reason column.
Delete a custom reason in the Action column.
Click the Save button to confirm the changes.
Set Grades and Priorities
Select Set Grades & Priorities in the More drop-down list to set grades and priorities.
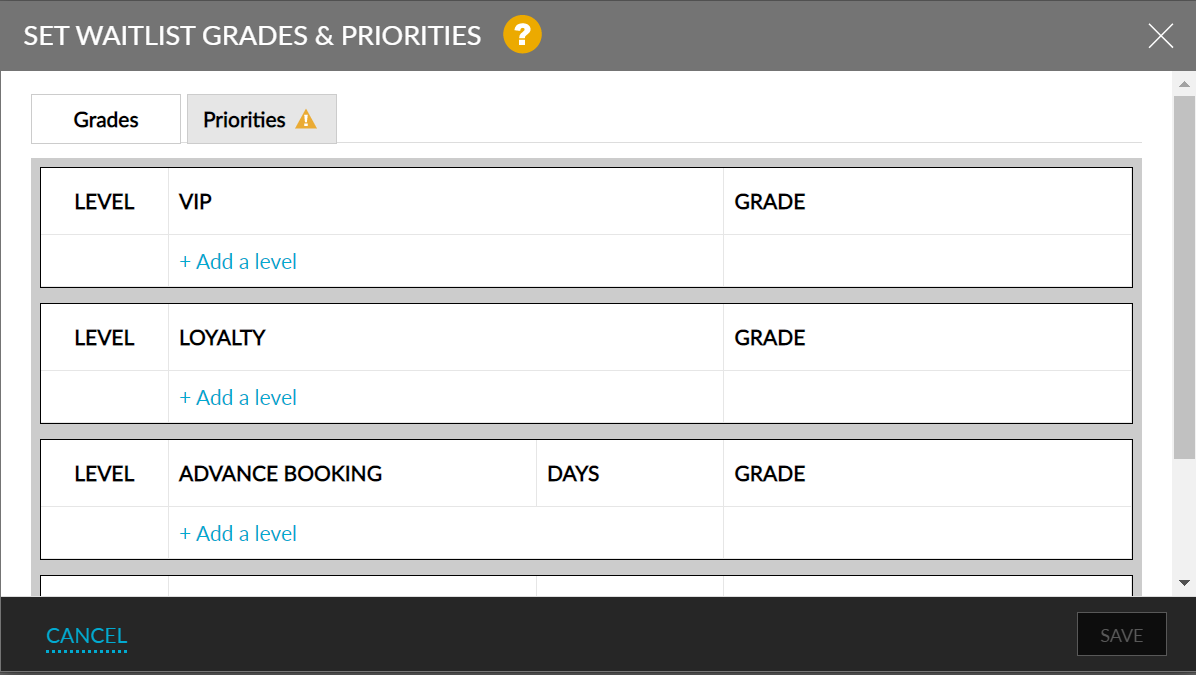
Setting Grades:
Levels in the Grades tab are evaluated and applied based on precedence (Top to Bottom). And this mainly applies to the levels set under Advance Booking and Previous Stay. The individual grades should be whole numbers and cannot exceed 100.
Setting Priorities:
The sum of the priorities should be exactly equal to 100. Users can set preferences up to any percentage for the categories, including 0, with the total being 100.
Calculation:
The applicable grade and the corresponding priority in percentage are multiplied. The sum of the results becomes the Priority Grade, which is used to sort the Waitlist and Inquiry records in descending order.
If a priority, grade, or both get updated, the Priority Grade is recalculated, and the Waitlist and Inquiry records are sorted accordingly.
Refer to the following table to fill in the details in the Grades tab:
|
Field |
Description |
|---|---|
|
VIP |
Select a VIP program from the drop-down list and provide a grade for each program. |
|
Loyalty |
Select a Loyalty program from the drop-down list and provide a grade for each program. |
|
Advance Booking |
Select one of the following, enter the number of days before booking, and provide a grade for each level:
|
|
Previous Stay |
Select one of the following, enter the number of days of previous reservation, and provide a grade for each level:
|
|
+ Add a level |
Click to add a new level. |
|
Bin Icon |
Delete a level. |
In the Priorities tab, set percentages for the four categories.
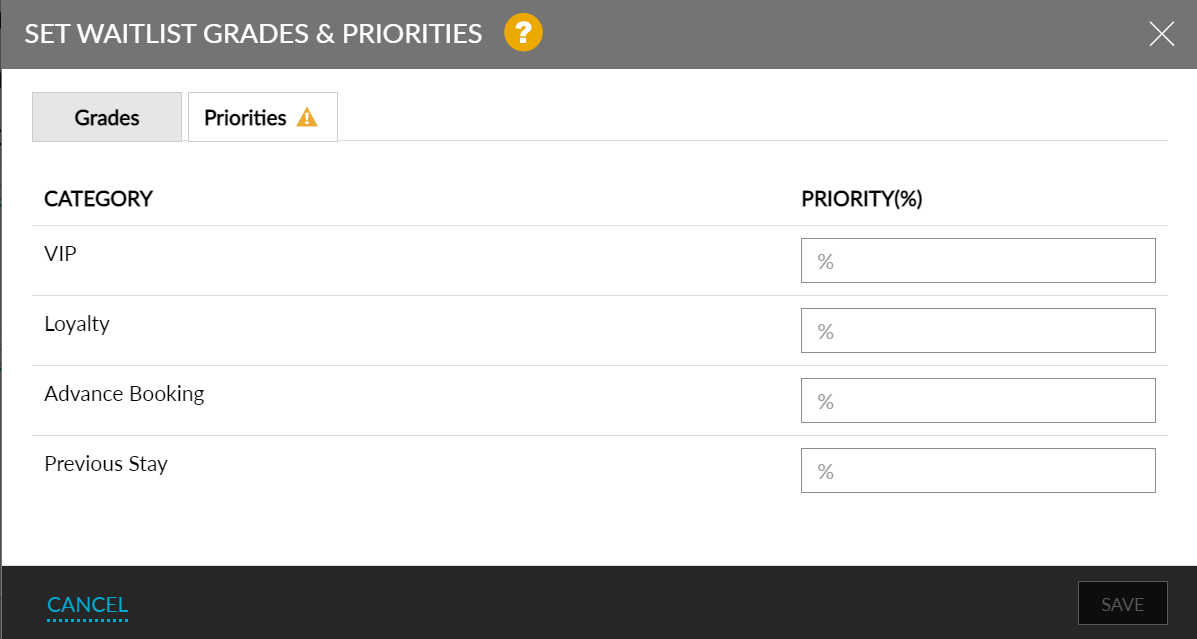
Click the Save button to confirm the priorities and grades.
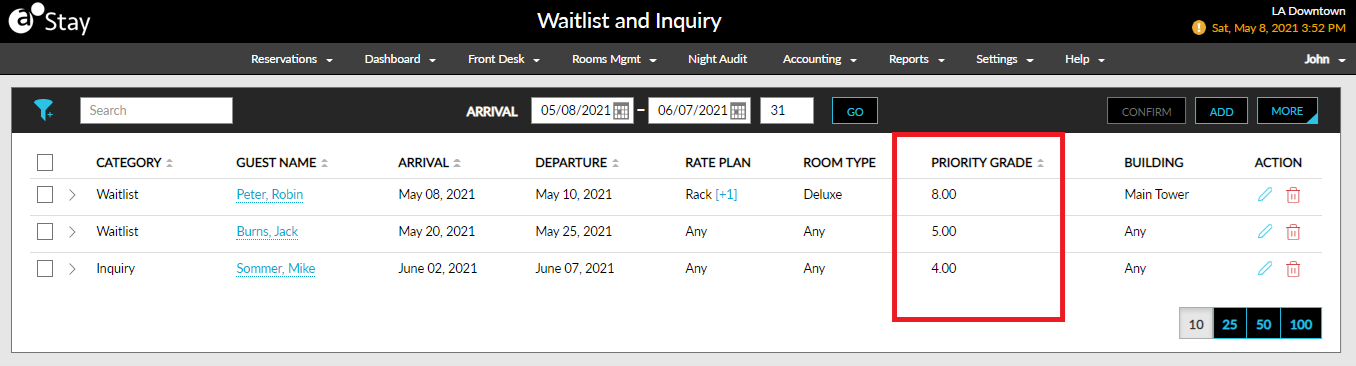
The waitlist and inquiry grid entries are sorted based on the calculated priority grade.